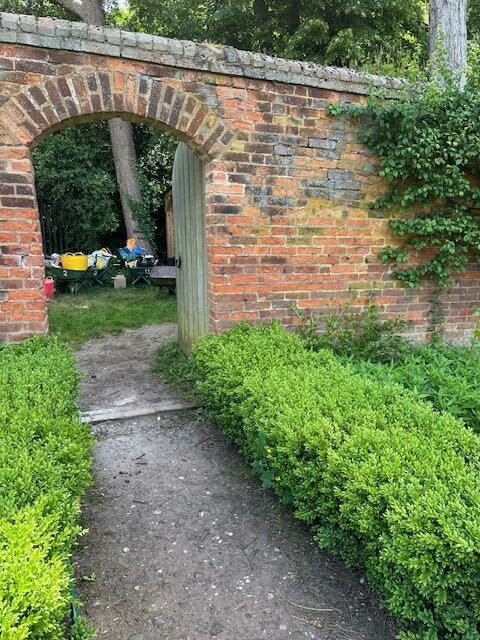
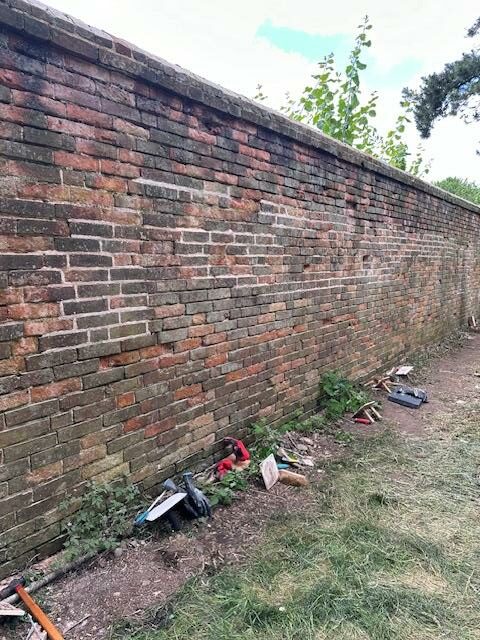
Last summer I had the opportunity to join the SPAB lime mortar working party and have a go at repairing Castle Bromwich Hall’s 17th Century Garden Wall. The walls surround the formal Grade II* listed gardens that once formed part of the Earl of Bradford’s Estate. Organised by the Society for the Protection of Ancient Buildings, who have been dedicated to the conservation of historic buildings since 1877 when it was founded by William Morris, this was an opportunity to help Castle Bromwich Hall Gardens Trust repair their wall whilst learning new conservation skills.
Lime mortar is a traditional building product originally used in mortars and render in old buildings, including Moor Pool Hall and all the houses on the Moor Pool Estate, instead of Portland cement that is predominantly used in modern buildings. While cement used in modern buildings is designed to make them watertight, old buildings function differently and need porous materials to help them ‘breathe’, allowing moisture to escape to keep them dry and free of damp and humidity.
Cement mortar on the other hand is a hard, impermeable material and much harder than the soft bricks which will lead to them cracking which subsequently lets in water and causes damp. Any repairs done at Moor Pool Hall use lime-based mortars and renders. So this was my opportunity to learn all about this process, embrace the trowel and have a go!
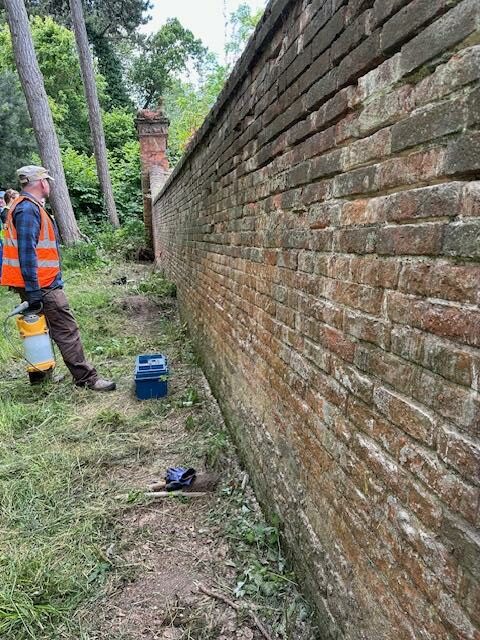
The course was held over two days, working on the back of the wall (not the front I presume in case we made a mess of it!) and I was surprised to be joined not just by building and lime enthusiasts from all over the country but also tradesman interested in learning more about how to work with older buildings and those working on personal projects.
The first day involved learning about lime mortar, getting stuck into brick cleaning and raking out the old lime, ready for the fresh mortar to be used, guided by brick expert Lynn Mathias.
Lynn talked about what grade of lime mortar mix is best to use depending on what you are working on. The lime mortar naturally moves with the building and is much softer than cement which prevent the bricks from cracking.
In terms of sustainability, using lime mortar involves much less waste than cement mixes, as every little bit remains usable the following day, so none of the material goes to waste. Limestone is also burnt at a much lower temperature when it is produced, using much less energy, and carbon is also absorbed in the process as CO2 emitted during firing is re-absorbed by the lime when it hardens.
Now the practical bit!
We raked out the old mortar using various tools and saws at our disposal, being careful not to rake out too much, ready for new mortar and pointing. The surface of the bricks was cleaned ready for the new mortar to be applied. Goggles and gloves were a must – you don’t want this stuff on your hands!
The lime mortar was prepared by mixing with sharp sand in a bucket and this was made up for us. Natural hydraulic lime has 3 grades that need to be applied according to the task, and colour matched according to the existing sand of the mortar, which will usually be local sand.
Once prepared to the right texture we each took a big dollop of it onto our handmade hawks and sliced pieces to fit into the dampened joints. Each section of wall that had been raked out was sprayed first ready to apply the mortar. There was a certain technique to applying the mortar to the gaps, and you could tell who was in the trade from the finished pointing! I was not a natural and it took quite a bit a practice to get the knack of the motion of getting the cut slices of mortar on the spatula into the gaps without dropping it all over my not-well-worn ‘builder’ boots. The gaps were filled firmly, leaving no voids at the back to the level of the bricks. The tidying up of the joints was left to later when the mortar had dried a little more.
The mortared walls were later covered with hessian to prevent drying out too quickly and to protect from the weather, which on this occasion was a lovely sunny day with no rain expected. Then before the mortar was too dry we cleaned the bricks and mortar with different sized soft brushes and churn brushes, to remove any surface lime.
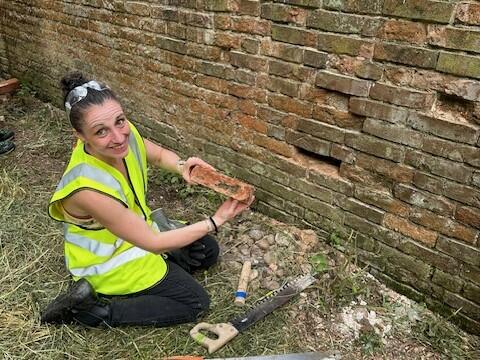
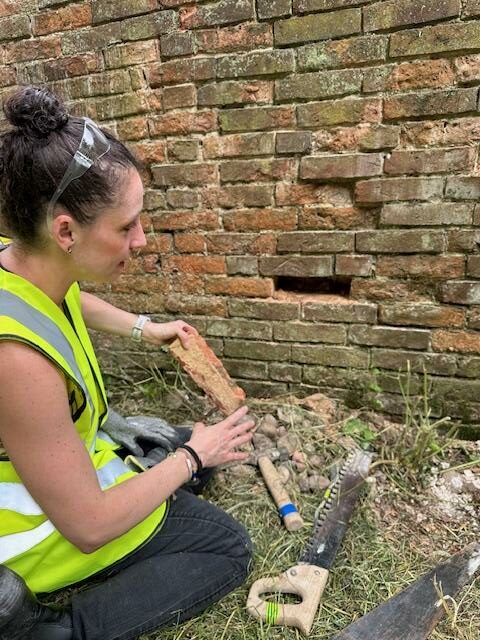
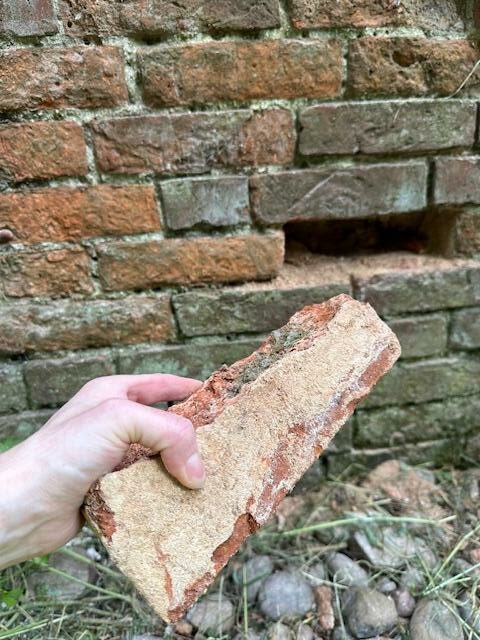
My favourite bit was brick replacement for bricks that were beyond repair and needed to be removed and re-bedded with a new one. Finally managing to get the brick out using saw, chisel and hammer was extremely satisfying! Setting the new brick involves preparing a wetter mixture for bedding the brick and finding the right sized brick.
So all in all it was a very informative experience and I am looking forward to another lime mortar working party at Castle Bromwich Hall Gardens in March. My husband was less impressed with my suggestion that I have a go at repointing the back of our house, and I did not get the trowel I wanted for Christmas. I guess I won’t be giving up the day job and turning my hand to the building trade just yet!
Barbara Nomikos, Hall Manager, MPHT
February 2025
